4 minutes time to read
In this article you will learn how to use the settings of the Staff Management module to customize Moralius based on your company’s needs. You can go to the Staff Management settings screen by following the steps below:
- Click on your icon on the top-right part of the screen.
- Click on ‘Customization’ on the box that pops up.
- Click on the ‘Staff Management’ tab on the left part of the screen.
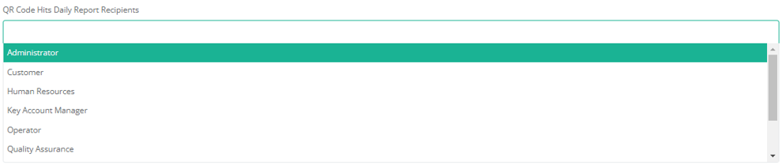
QR Code Hits Daily Report Recipients
To edit this setting, simply follow the steps below:
- Click inside the box.
- Search the role by typing or scroll inside the box.
- Click on a role to choose it or if you want multiple roles hold down the control key and click on each role.
- Click on the x button at the left of the role to exclude a role or open the box and click again on the role you want to exclude.
- Click on the ‘Save’ button for your changes to take effect.
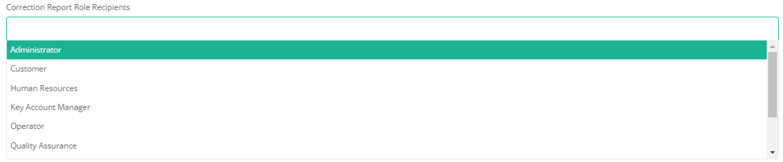
Correction Report Role Recipients
To edit this setting, simply follow the steps below:
- Click inside the box.
- Search the role by typing or scroll inside the box.
- Click on a role to choose it or if you want multiple roles hold down the control key and click on each role.
- Click on the x button at the left of the role to exclude a role or open the box and click again on the role you want to exclude.
- Click on the ‘Save’ button for your changes to take effect.
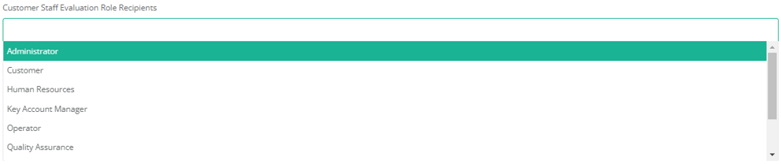
Customer Staff Evaluation Role Recipients
To edit this setting, simply follow the steps below:
- Click inside the box.
- Search the role by typing or scroll inside the box.
- Click on a role to choose it or if you want multiple roles hold down the control key and click on each role.
- Click on the x button at the left of the role to exclude a role or open the box and click again on the role you want to exclude.
- Click on the ‘Save’ button for your changes to take effect.
Head of Internal Tickets for Permanent Replacements
To edit this setting, simply follow the steps below:
- Click inside the box.
- Search the user by typing or scroll inside the box.
- Click on the user you want to choose.
- Click on the ‘Save’ button for your changes to take effect.

Ticket Category for Permanent Replacements
To edit this setting, simply follow the steps below:
- Click inside the box.
- Search the ticket category by typing or scroll inside the box.
- Click on the ticket category you want to choose.
- Click on the ‘Save’ button for your changes to take effect.

Ticket Category for Correction Required
To edit this setting, simply follow the steps below:
- Click inside the box.
- Search the ticket category by typing or scroll inside the box.
- Click on the ticket category you want to choose.
- Click on the ‘Save’ button for your changes to take effect.

Ticket Category for Training Required
To edit this setting, simply follow the steps below:
- Click inside the box.
- Search the ticket category by typing or scroll inside the box.
- Click on the ticket category you want to choose.
- Click on the ‘Save’ button for your changes to take effect.

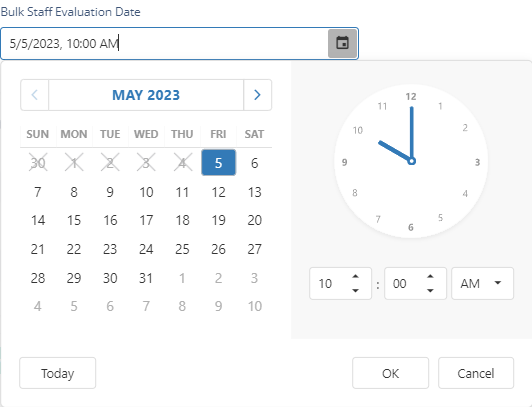
Bulk Staff Evaluation Date
To edit this setting, simply follow the steps below:
- Click on the calendar icon at the right the box.
- Pick the exact date and time on which you want pending staff evaluations to be created.
- Click ‘OK’ to pick or ‘Cancel’ if you want to keep the previous date.
- Click on the ‘Save’ button for your changes to take effect.
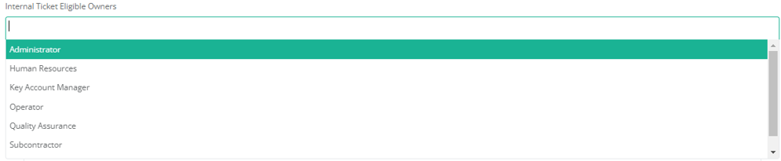
Internal Ticket Eligible Owners
To edit this setting, simply follow the steps below:
- Click inside the box.
- Search the role by typing or scroll inside the box.
- Click on a role to choose it or if you want multiple roles hold down the control key and click on each role.
- Click on the x button at the left of the role to exclude a role or open the box and click again on the role you want to exclude.
- Click on the ‘Save’ button for your changes to take effect.
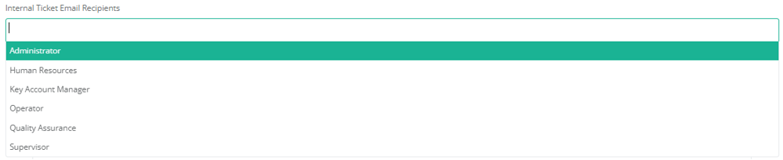
Internal Ticket Email Recipients
To edit this setting, simply follow the steps below:
- Click inside the box.
- Search the role by typing or scroll inside the box.
- Click on a role to choose it or if you want multiple roles hold down the control key and click on each role.
- Click on the x button at the left of the role to exclude a role or open the box and click again on the role you want to exclude.
- Click on the ‘Save’ button for your changes to take effect.
Related articles
Read this article to find out more about the Staff Management settings.